
A Guide to Replacing Fixed Blade Knife Scales On Your Favorite Vintage Blade.
A well-crafted fixed blade knife is more than a tool; it’s a testament to craftsmanship and history. If you find yourself with an old knife that has seen better days, rejuvenating it by replacing the worn-out scales can breathe new life into both its aesthetic appeal and functionality. In this guide, we’ll take you through the step-by-step process of replacing fixed blade knife scales, ensuring your vintage blade becomes a functional work of art once again.
Materials Needed:
Old fixed blade knife
Replacement knife scales
Screwdriver
Epoxy adhesive
Clamps
Sandpaper (various grits)
Linseed oil or another finish of choice
Disposable gloves
Rags
|Advertisement Links|
Acrylic Scales – Knife Handle Slab Material
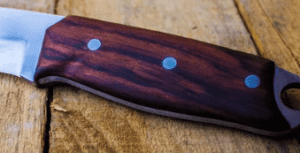
Ironwood Burl Pattern Knife Scale Slapsz
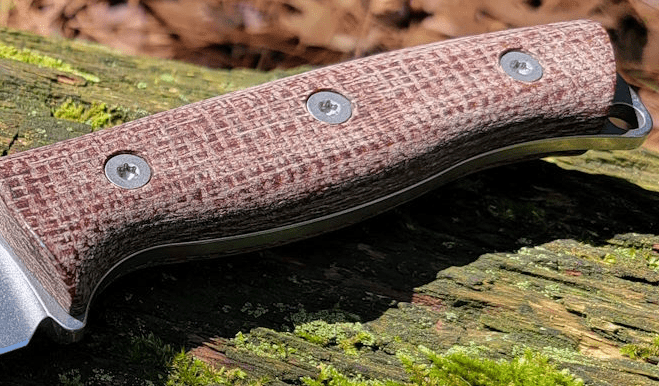
G10 Micarta Red & Black Custom Handle Scale Slabs”
Bob Smith Industries BSI-201 Quik-Cure Epoxy (4.5 oz. Combined),Clear
Step 1: Gather Your Materials
Before you start, make sure you have all the necessary materials at hand. Ensure that your replacement knife scales match the size and shape of the original scales for a seamless fit.
Step 2: Remove the Old Scales
Using a screwdriver, carefully remove any screws or fasteners securing the old scales to the knife. Take note of their arrangement as you’ll need this information when attaching the new scales. Gently pry off the old scales, being cautious not to damage the blade or tang in the process.
Step 3: Clean the Tang and Blade
Once the old scales are removed, clean the tang and blade thoroughly. Remove any residual adhesive or debris to create a clean surface for attaching the new scales.
Step 4: Prepare the Replacement Scales
If your replacement scales are not pre-shaped to match the original ones, use the old scales as templates. Trace their outline onto the new scales and cut them to size using a saw or a rotary tool. Sand the edges to achieve a smooth and comfortable fit.
Step 5: Test Fit the New Scales
Before applying any adhesive, conduct a test fit of the new scales on the knife. Ensure that they align perfectly with the tang and that any holes for screws match up. If adjustments are needed, trim or sand the replacement scales accordingly.
Step 6: Apply Epoxy Adhesive
Once you’re satisfied with the fit, it’s time to attach the new scales. Apply a thin, even layer of epoxy adhesive to the tang of the knife. Make sure to spread the adhesive evenly to avoid uneven pressure points when clamping.
Step 7: Attach the New Scales
Carefully position the replacement scales onto the tang, ensuring that they align precisely with the blade. Press them firmly into place. If using screws, reinsert them through the holes in the scales and screw them into the corresponding holes in the tang.
Step 8: Clamp and Allow to Cure
To ensure a secure bond, use clamps to hold the scales firmly against the tang. Wipe away any excess epoxy that may have squeezed out during this process. Allow the adhesive to cure according to the manufacturer’s instructions.
Step 9: Shape and Sand the Scales
Once the adhesive has fully cured, remove the clamps and begin shaping the scales to your desired profile. Use sandpaper with progressively finer grits to smooth the edges and achieve a comfortable grip.
Step 10: Apply Finish
To protect and enhance the appearance of the new scales, apply a finish of your choice. Linseed oil is a popular option for a natural, matte finish. Allow the finish to dry thoroughly before handling the knife.
|Advertisement Links|
Flitz Multi-Purpose Polish and Cleaner Liquid All Metal DOES NOT HARM Plastic & Fiberglass
Beeswax Polish for Leather & Wood – Natural Finishing Wax
Bringing Your Vintage Blade Back to Life
With the replacement of fixed blade knife scales complete, your vintage blade has undergone a transformation. Not only does it regain its functionality, but it also becomes a tangible link to the craftsmanship and history encapsulated in a well-worn tool. Take pride in the restoration of your vintage knife, and let its renewed vitality inspire your future adventures.
Remember, every knife has a story, and by preserving and enhancing its features, you become part of that narrative. Happy crafting, and may your vintage blades continue to serve you well!

By using this site you're accepting
our Online Sales Disclaimer
*Must Be 18 years or older to purchase*