
Friction Folder Knife – DIY project approach..
Step 5: Securely Attach the Handle to the Blade:
Once you have drilled holes in the handle scales, and test fitted the blade insuring no movement. It’s time to attach the blade securely. Follow your own detailed planning to ensure a snug fit and a smooth pivot for your friction folder knife.
Here are some general steps for this process:
- Insert the Blade:
- Place the blade between the two handle scales, aligning it with the holes you drilled.
- Ensure that the cutting edge is facing outward and that the blade is centered within the handle.
- Secure with Pins or Rivets:
- Insert the pins or rivets through the aligned holes to hold the blade and handle scales together.
- Make sure the pins are of the appropriate length to securely fasten the components without protruding too much.
- Use a Vise or Clamps:
- Secure the entire assembly in a vise or with clamps.
- Verify correct alignment of all pieces before final tightening of vise or clamps.
This is crucial to prevent any movement during the next steps and ensures a precise and stable attachment.
- Check Pivot Smoothness:
- Confirm that the blade can pivot smoothly between the handle scales.
- The pivot point should be positioned at the desired location, allowing the knife to open and close without resistance.
- If there’s stiffness, identify the cause and correct issues before proceeding.
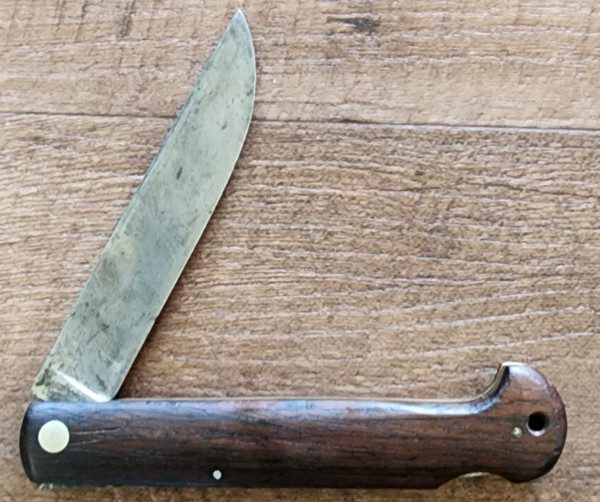
- Verify Fit in Open Position:
- Open the blade fully to its extended position.
- Check that it aligns perfectly within the handle scales without any wobbling or misalignment.
- Identify any looseness issues, make the required corrections and then proceed.
- Verify the cutting edge is correctly centered, and the handle scales provide a safe, comfortable, controllable grip.
- Verify Fit in Closed Position:
- Close the blade completely and check for a secure fit within the handle.
- The closed position should be symmetrical, with the blade sitting flush between the handle scales.
- Ensure that there is no play or movement when the knife is closed.
- Shake knife while in closed position and verify friction hold exists as expected, and that the blade will not open unintentionally.
- Fine-Tune if Necessary:
- If you notice any issues with the fit or pivot smoothness, make adjustments.
- This may involve slight modifications to the holes or tweaking the shape of the handle scales.
- Take your time to achieve a perfect fit before moving on to finishing.
- Ensure Proper Blade Centering:
- Confirm that the blade is centered within the handle both when open and closed.
- Proper centering not only ensures smooth operation but also adds to the overall aesthetic appeal of the knife.
By paying meticulous attention to the fit and pivot of the blade at this stage, you set the foundation for a well-crafted and functional friction folder knife. Taking the time to verify the fit in both open and closed positions ensures that the final assembly with epoxy will result in a professionally finished product. Once you’re satisfied with the fit, you can proceed to the final steps of sanding, finishing, and assembling with epoxy to complete your custom friction folder knife.

By using this site you're accepting
our Online Sales Disclaimer
*Must Be 18 years or older to purchase*