
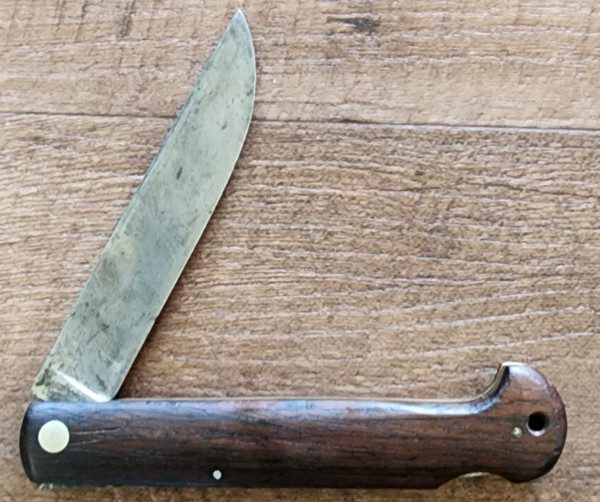
Friction Folder Knife – DIY project approach..
Step 7: Sand and Finish – Achieving a Professional Look and Feel:
Achieving a smooth and refined finish on your friction folder knife is a crucial step for both aesthetics and comfort. Follow your own planned steps to ensure a professional look and feel:
- Prepare Your Workspace:
- Set up a well-ventilated workspace with a stable surface.
- Lay down protective coverings to catch any debris, and wear appropriate safety gear, including a dust mask and safety glasses.
- Start with Coarse Grit Sandpaper:
- Begin the sanding process with coarse grit sandpaper, such as 80 or 120.
- Stepping up from coarse to fine grit gradually will help in removing any imperfections, shaping the handle, and refining the blade contours.
- Work systematically and evenly across the entire knife.
- Progress to Medium Grits:
- Gradually move to medium grits (e.g., 220, 320) as you refine the surfaces.
- Smooth out any scratches or uneven areas left by the coarse grit sandpaper.
- Continue until you achieve a uniform and even surface on both the blade and handle.
- Focus on Detailing:
- Use finer grits (400, 600, and higher) to focus on detailing.
- Pay attention to small corners, curves, and intricate parts of the handle.
- This Detailing step is crucial for achieving a polished and professional appearance.
- Wet Sanding (Optional):
- For an even smoother finish, consider wet sanding with higher grits.
- Wet sanding helps prevent clogging of the sandpaper and provides a cleaner finish.
- Keep the sandpaper wet with a alcohol/water mix throughout this process.
- Wet sand wood handles with only alcohol, and then let dry completely before judging surface texture.
- Check for Uniformity:
- Regularly inspect the knife for uniformity in the finish.
- Ensure that both the blade and handle have a consistent texture and that you’ve addressed all imperfections.
- This step is vital for achieving a polished and refined final product.
- Apply Finish or Sealant:
- Depending on the handle material you’ve chosen, consider applying a finish or sealant to enhance durability and protect against moisture.
- For wooden handles, options include oils, waxes, or clear sealants.
- Synthetic materials like G-10 or Micarta may not require additional finishes.
- Buffing and Polishing (Optional):
- For an extra touch, you can use a buffing wheel or polishing compound to bring out a high shine on metal parts of the knife.
- This step is optional and depends on the desired level of polish for your knife.
- Clean and Inspect:
- Thoroughly clean the knife to remove any sanding residue or debris.
- Inspect the entire knife once again to ensure that the finish meets your expectations.
By progressing through various grits of sandpaper, focusing on detailing, and applying appropriate finishes, you’ll achieve a smooth and professional finish on both the blade and handle of your friction folder knife. This attention to detail not only enhances the visual appeal of your creation but also contributes to a comfortable and enjoyable user experience.

By using this site you're accepting
our Online Sales Disclaimer
*Must Be 18 years or older to purchase*