
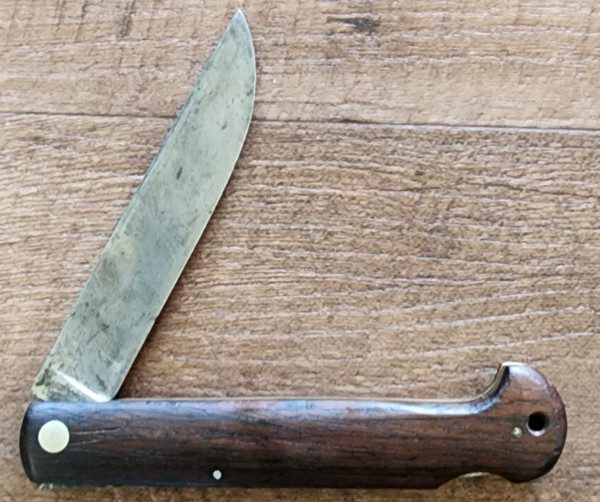
Friction Folder Knife – DIY project approach..
Step 8: Test and Adjust – Ensuring Smooth Operation:
Testing and adjusting the friction folder mechanism is a crucial step to guarantee the functionality and safety of your handmade knife. Follow these detailed instructions to ensure your knife operates smoothly and without any issues:
- Open the Knife:
- Gently open the knife to its fully extended position.
- Pay attention to the resistance and the smoothness of the movement.
- The blade should pivot smoothly between the handle scales.
- Check Pivot Tension:
- Assess the tension of the pivot. It should offer a balanced resistance—enough to keep the knife securely open but not so tight that it becomes difficult to open.
- If needed, adjust the tension by tightening or loosening the pins or rivets.
- Ensure Blade Alignment:
- Confirm that the blade is centered within the handle scales when fully open.
- A well-aligned blade not only enhances the knife’s performance but also contributes to its aesthetic appeal.
- Test Closing Mechanism:
- Carefully close the knife, observing how the blade seats itself within the handle.
- The closing mechanism should be smooth without any catching or abrupt stops.
- If you encounter resistance, identify the source and make necessary adjustments.
- Inspect for Sharp Edges:
- Run your fingers along the entire edge of the handle scales and the blade.
- Check for any sharp edges or points that could cause discomfort or injury during use.
- Use files or sandpaper to round off any sharp corners or edges.
- Evaluate Handle Comfort:
- Assess the ergonomic design of the handle.
- Ensure that it provides a comfortable grip when held.
- Pay attention to any hotspots or uneven areas that might need reshaping to enhance the overall user experience.
- Check for Blade Play:
- In both open and closed positions, check for any unwanted blade play or wobbling.
- If you notice any play, tighten the pins or rivets slightly, but be careful not to over-tighten, as it may affect the pivot smoothness.
- Fine-Tune as Necessary:
- Based on your observations during testing, make any necessary adjustments.
- This might involve refining the handle shape, adjusting the pivot tension, or addressing any specific issues that arise.
- Repeat Testing:
- Perform the testing and adjustment process multiple times until you are satisfied with the knife’s performance.
- Regular testing ensures that your adjustments have the desired effect and that the knife functions reliably.
- Final Inspection:
- Conduct a final inspection of the entire knife, ensuring that all adjustments have been made and that it meets your quality standards.
- Pay attention to the details, as a well-adjusted knife is not only functional but also a work of craftsmanship.
By thoroughly testing and adjusting your friction folder knife at this stage, you ensure that the final product meets both functional and safety standards. Taking the time to make precise adjustments will result in a knife that not only looks professional but also operates smoothly and reliably. Once you are confident in the knife’s performance, you can proceed to the final steps of sanding, finishing, and assembling with epoxy to complete your custom friction folder knife.

By using this site you're accepting
our Online Sales Disclaimer
*Must Be 18 years or older to purchase*